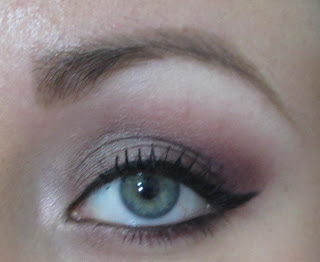
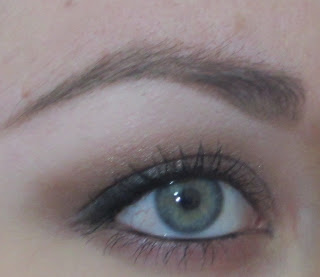
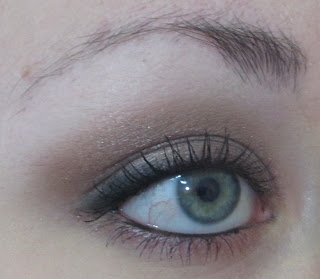
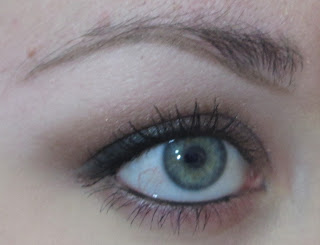
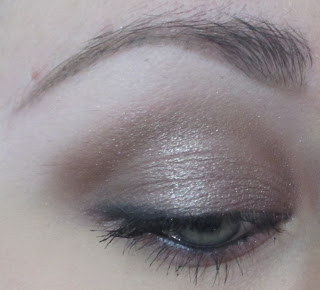
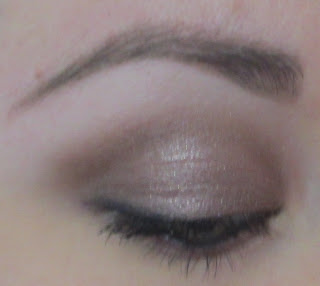
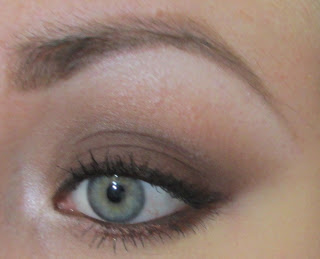
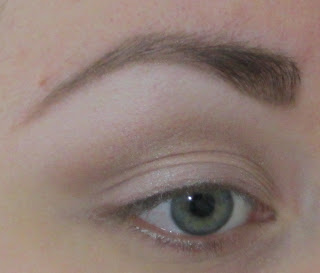
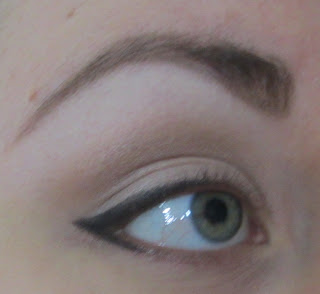
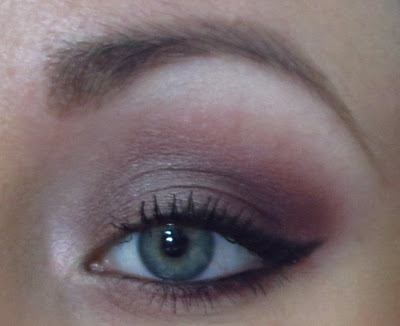
HELLO LADIES!! It’s been a couple days since I did a post, so I decided to do an Eye of the Day!
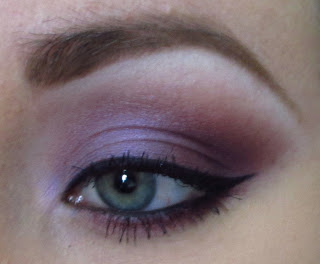
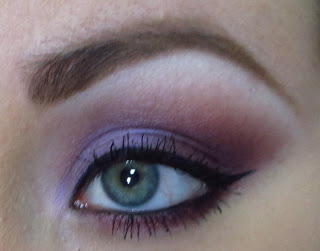
I did a VERY neutral look using mostly the Naked2 Palette by Urban Decay with a couple MAC shadows thrown in the mix. I love the Naked2 but it is definitely missing some key elements… like a transition shade!!! Anywho, this look is meant to be a little more effortless, so don’t worry about doing exact placement.
Unfortunately I could not get a picture that did this look justice… Partly because my camera isn’t up to par, and secondly because shadows with this much shimmer can be difficult to capture. Soon I will be getting a new camera and will be filming videos on YouTube, so keep an eye out for that!!! I hope you like the look and here’s the items that I used:
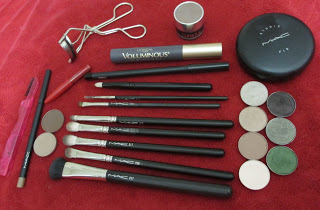
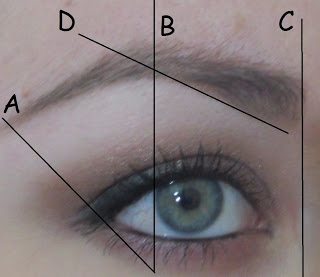
MAC Kid — transition
UD Verve — inner third of lid
UD Suspect — outer 2/3 of lid
UD Snakebit — outer v and crease, lower lashline
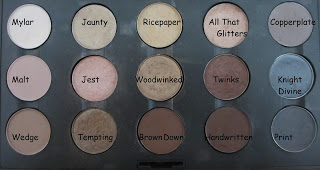
MAC Wedge- blend lower lashline
MAC Vanilla — highlight
MAC Paint Pot in Soft Ochre
MAC Espresso — Eyebrows
MAC Omega — Eyebrows
MAC Fling Eyebrow Pencil
Maybelline Brow Pencil in Blonde
Lorac Brow Pencil in Brunette
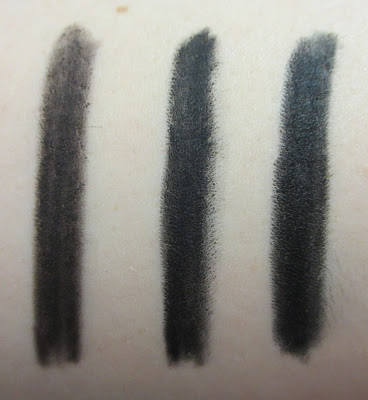
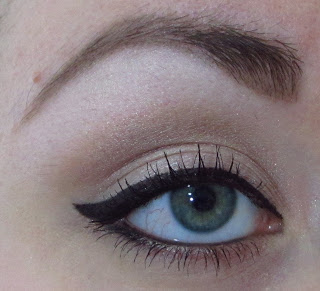
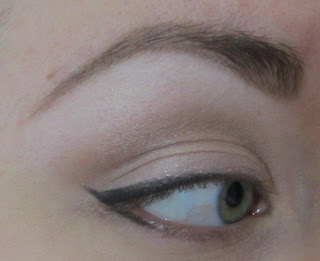
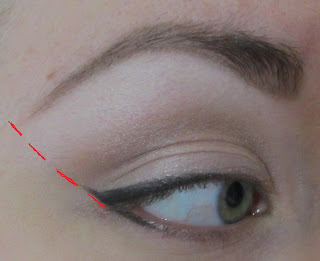
Clinique Cream Liner in True Black
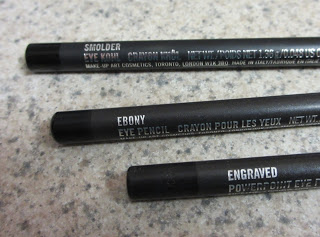
MAC Smolder Eye Kohl
Salon Perfect Lashes #110
Revlon Lash Adhesive
Voluminous Mascara
BRUSHES:
MAC 217 (2)
MAC 224
MAC 210
MAC 266
Brow Grooming Brush
Tweezerman Tweezers
By the way my dears, it is not necessary to use 5 brow products like I did, but I am growing them out so they are requiring A LOT more attention these days 🙂
HAVE A GREAT DAY, AND DON’T FORGET TO SUBSCRIBE!!!!


.JPG)